So, for this dye project I made a longer skein and dyed it in four sections.

First I had to figure out how I was going to create a longer skein. I do not have a warping board, or even flat back chairs that I could run the yarn between.
I scanned the house for something that could work. I settled on the coffee table, flipped upside down, and wrapped the yarn around the legs in a Z pattern.
My first attempt I confused the way I was wrapping the yarn, not realising until I was tying it. This led to rewinding the yarn back into a ball, untangling as I went. The second attempt I chanted to myself as I wrapped - over, under, over, under - so I would not make the same mistake again.
I tied up the skein with numerous ties, made it into a loose crochet chain and left it to soak.
Now for the dying...
I dye in my kitchen and do not have the space to attempt hand painting, so I needed a plan to that would allow me to still do immersion dying but in sections.I set up my baking tray on the stove top, and then a tub for the undyed portion of the yarn and a pot for the dyed portions.

I had put temporary ties in the long skein to split it in to four sections, as I fed each section into the pan I removed these ties and made sure that the dye overlapped at these points so there was no white.
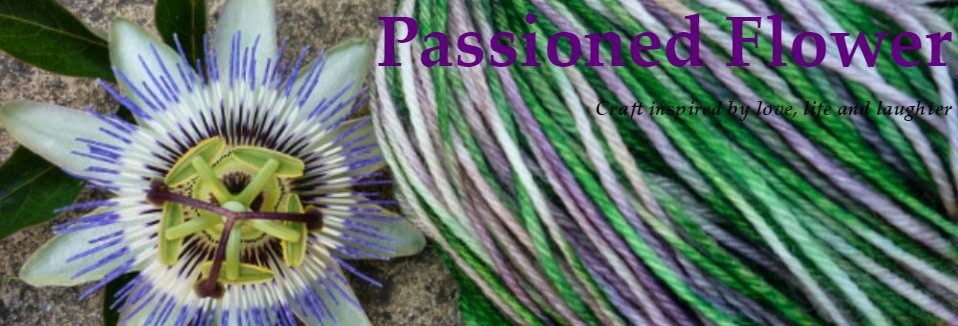
Colours for this project:
section 1: emerald and turquoise
section 2: purple and periwinkle
section 3: orange and russet
section 4: sky blue
I posted a mid-dying colour photo on Instagram (link on the left).
Check the blog next week to see the colour progressions, what solution I come up with for re-skeining my long skein back to a "normal" sized skein and the finished dying project.
No comments:
Post a Comment